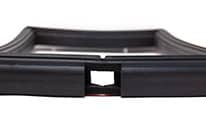
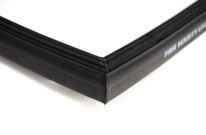
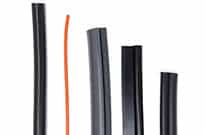
Elasto Proxy makes large, rectangular door gaskets that attach to door frames with pressure-sensitive adhesive (PSA) tape. These industrial rubber products have strong, bonded corners and a removable carrier, or film, that you peel back to expose the adhesive. Finished gaskets arrive ready-to-install, but you’ll need to follow some basic instructions to achieve sealing success.
This article provides those instructions. In addition to reading the steps below, make sure to watch our Gasket Installation Instruction Video. Paulo Arruda, Elasto Proxy’s General Manager, shows how to install large rubber gaskets against flat surfaces so that they align properly and won’t get overstretched.
Eight Gasket Installation Steps
There are eight basic steps to the gasket installation process.
- Step 1: Clean the area around the door frame
- Step 2: Grab your gaskets
- Step 3: Install the top corners
- Step 4: Secure the top section
- Step 5: Install the bottom-left corner
- Step 6: Secure the left side of the gasket
- Step 7: Install the bottom-right corner
- Step 8: Install the right side of the gasket
- Step 9: Use a rubber roller
- Step 10: Wait 24 to 48 Hours
The following sections provide details.
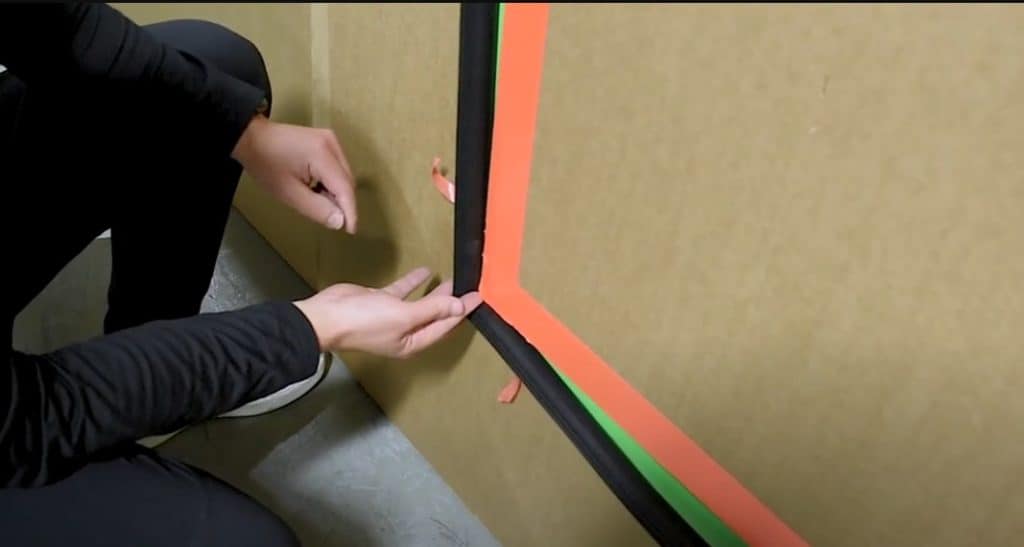
Important: In our video and images, green tape represents the adhesive area and orange tape represents the door frame.

Step 1: Clean the Area Around the Door Frame
Your first step is to clean the area around the door frame. PSA tape is strong and reliable, but it sticks best to surfaces that are free from dust, debris, or grease. That’s why you need to clean the area around the door frame thoroughly. Wet a clean rag with isopropyl alcohol and then wipe it along the area where you’ll attach the gasket. The cleanliness of the adhesive area is critical.

Step 2: Grab Your Gaskets
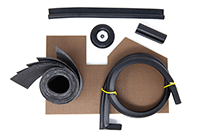
Finished gaskets from Elasto Proxy arrive ready-to-install and are packaged in a cardboard box. Large, rectangular gaskets are folded up, so unfold them and locate the corners. With rectangular gaskets, you can use either of the shorter sides as the top and bottom of your door gasket.

Step 3: Install the Top Corners
When you install a door gasket, always begin with the top two corners. In our video, we start with the top left and then move to the top right. Never install a gasket like this in the center. Otherwise, you risk stretching the rubber. Don’t install the gasket from the bottom either. Otherwise, you’ll have to fight gravity during the installation process.
Here are some additional details.
- Hold the top-left corner of the gasket and peel back some of the carrier along each side.
- Position the gasket’s top-left corner so that it fits snugly against the top-left corner of the door frame.
- Press the top left corner of the gasket so that it sticks. Don’t pull the gasket, and don’t press so hard you won’t be able reposition the gasket if necessary.
- Hold the gasket’s top-right corner and peel back some of the carrier on each side.
- Position this top-right corner so that it fits snugly against the top-right corner of the door frame.
- Press the gasket’s top right corner so that it sticks. Again, do not pull the gasket or press too heavily.
You’ve now installed the top two corners of the gasket.

Step 4: Secure the Top Section
Now it’s time to install the rest of the top section. First, peel-back and remove the carrier along the entire top length. Then press this part of the gasket into place. Start from the gasket’s center, but don’t run your fingers along the entire top length of rubber. Instead, press a spot in the top-center and then press a few other spots along the top section.
The top of your gasket is now secure.
Step 5: Install the Bottom-Left Corner
Next, install the gasket’s bottom left-corner. Here’s how.
- Hold the bottom-left corner of the gasket and peel back some of the carrier along each side.
- Position this bottom-left corner so that it fits snugly against the bottom-left corner of the door frame.
- Press the bottom-left corner of the gasket so that it sticks.
The top and bottom corners on the left side are now in place.

Step 6: Secure the Left Side of the Gasket
Now it’s time to secure the rest of the left side of the gasket. As you do so, avoid stretching the rubber. When removing the carrier, do it slowly so that this thin film won’t tear prematurely.
- From the gasket’s top-left corner, peel away the carrier until it’s just beneath the midpoint on the left side.
- Press the midpoint into place.
- From the bottom-left corner of the gasket, peel away the carrier.
- Remove and discard the carrier you peeled back in #1 and #3.
- Carefully align the left side of the gasket to the door frame, working from the midpoint to the bottom and then from the midpoint to the top. As you do so, periodically press the gasket.
You’ve now secured the entire left side of the gasket.

Step 7: Install the Bottom Right Corner
Next, install the gasket’s bottom-right corner.
- Hold the bottom-right corner and peel back some of the carrier on each side.
- Position this corner so that it fits snugly against the bottom-right corner of the door frame.
- Press the bottom-right corner so that it sticks.

Step 8: Secure the Right Side of the Gasket
Now secure the right side of the gasket much as you did with the left.
- From the gasket’s top-right corner, peel away the carrier until it’s just beneath the midpoint on the right side.
- Press the midpoint into place.
- From the bottom-right corner of the gasket, peel away the carrier.
- Remove and discard the carrier you peeled away in #1 and #3.
- Carefully align the right side of the gasket to the door frame, working from the midpoint to the bottom and then from the midpoint to the top. As you do so, periodically press the gasket.

Step 9: Use a Rubber Roller
Pressing attaches a taped gasket, but you’ll need a rubber roller to maximize the surface contact between the PSA tape and the door frame. When you use a rubber roller, start at the top of the gasket and roll from each corner to the center. Then roll the left and right sides. Along each side, roll from the top corner to the midpoint and then the bottom corner to the midpoint. Finally, roll the bottom section as you did with the top section.

Step 10: Wait 24 to 48 Hours
Finally, wait 24 to 48 hours to achieve maximum bond strength. If you try to pull the gasket away from the door frame before then, you might think there was a problem with the installation. That’s not the case. Because an adhesive bond is a chemical one, it takes time for curing to occur so that the adhesive achieve its final properties.
For ready-to-install door gaskets backed by installation expertise, contact Elasto Proxy.