 Do you know how to install rubber gaskets for optimal sealing and insulation? If rubber seals are installed improperly, small leaks can admit air, water, dust, light, and sound. That’s a big problem for assembly and maintenance personnel who work in industries like mobile equipment, defense, aerospace, stainless steel and food equipment, infrastructure, and medical and health.
Engineers and sourcing managers can help by specifying the right profile materials, but gasket installation is about more than compound selection. Gaskets can attach with mechanical fasteners, but bolts and screws require tools. Plus, mechanical fasteners can loosen from vibrations. Adhesives are great for gasket installation, but spray-on systems are messy and can raise environmental health and safety concerns.
In this article from Elasto Proxy, the first in a series of “how to” blog entries, we explain how to install rubber gaskets for sealing and installation. In addition to adhesive selection, you’ll learn about key profile measurements. Importantly, Elasto Proxy shares requirements and best practices, too. If you want to learn how to install rubber gaskets, this article is for you.
Adhesive Selection
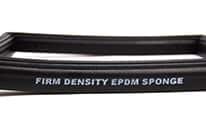
 Gaskets that are installed with an adhesive need strong, reliable bonds between the profile and the substrate. Many different adhesives are available, so choosing the right one involves asking and answering a series of questions. How long does the adhesive need to last? Is gasket replacement covered by equipment warranty? What’s the application environment like?
Taping can keep sponge profiles and solid profiles in place for temporary or permanent fastening. Pressure-sensitive adhesive (PTS) tapes hold profiles in place on rough or porous surfaces. Heat-activated taping system (HATS) products adhere well to the paints and plastics used with vehicles. Both types of tapes come with peel-away release liners for ease-of-installation.
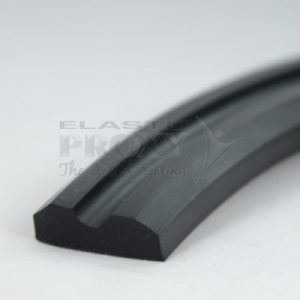
Profile Selection
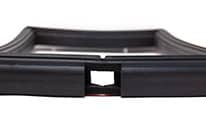
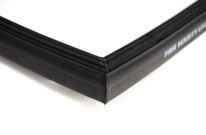
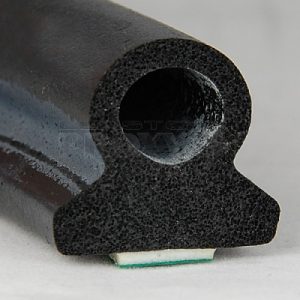
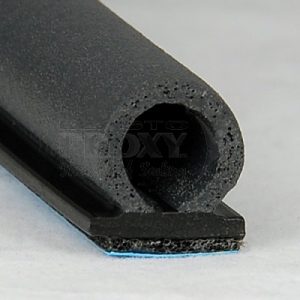
Rubber gaskets need to be tall enough to fill the gap between mating surfaces such as a door and a jam. To measure this distance, take some modeling clay and place it in the four corners of the jam. Then close the door to depress the clay. Using a pair of calipers, measure the clay at each of the four corners. Now add the depth of the clay at each corner and divide by four. This is your closed jam dimension.
Next, add 25% to 50% to the closed jam dimension to account for compression and determine the height of the rubber profile that you need. Height measurements don’t need to be exact, but they do need to be close. An adhesive that’s applied as thin film won’t add much to the profile’s height. A thick foam tape could reduce the height of the profile that you need.
Remember that to create the seal, the gasket is compressed so that it fills the gap and flows into small imperfections on the mating surfaces. Gaskets such as door seals are compressed repeatedly, so avoid profiles that readily achieve compression set, a permanent deformation that occurs after the closure force is removed. You’ll also need to consider the minimum bend radius so that the seal won’t kink and leak.
Installation Requirements and Best Practices
 Before installing a rubber gasket, check the ambient temperature. For best results, install the seal at temperatures between 50° and 100° F. With mobile equipment and military vehicles, you may need to move indoors to a garage or repair facility. Also, clean the substrate’s surface before gasket installation. Use a clean rag and mix a solution of one part isopropyl alcohol and one part water.
Gasket installers also need to keep the adhesive backing clean. To avoid contamination, don’t peel back the liner all at once. Instead, use a peel-as-you-go approach. With PSA tapes, you can apply pressure by hand or with a wooden roller. Remember that different tapes have different cure times, and that it’s important to wait until the tape reaches its full-cure strength before the gasket is used.
Learn More About How to Install Rubber Gaskets
We hope you’ve enjoyed this article from Elasto Proxy, and invite you to come back next week as we continue our “how to” series. Future topics will include blog entries about how to install types of rubber gaskets such as edge trim and window channels. We’ll also explain how the properties of insulation are tested. Until then, please contact us with your questions.